Running backing tracks live shouldn’t feel like defusing a bomb.
But for a lot of musicians, that’s exactly what it feels like the first time they try to turn Ableton Live into a reliable backing track rig for live performance. Too many options. Too many opinions. Too many videos showing setups that look more like a touring production than a local stage.
Most live backing track rigs don’t fail because the music is bad.
They fail because the system is overbuilt, misunderstood, or fragile.
This post isn’t about building the most powerful playback rig possible.
It’s about building a simple Ableton Live backing track setup that actually works—one you can rehearse with, trust on stage, and understand well enough to fix when something goes wrong.
What “Simple” Really Means in a Live Backing Track Setup
When people search for how to run backing tracks live, what they’re usually asking is:
“How do I do this without everything falling apart?”
Simple doesn’t mean cheap.
It means:
- Predictable
- Repeatable
- Easy to explain to someone else
A simple live playback rig does a few things well:
- Plays backing tracks consistently
- Sends a click track to the band
- Sends music to front of house
- Doesn’t require constant troubleshooting
And just as important, it avoids complexity too early:
- No timecode
- No lighting control
- No advanced automation
- No redundant laptops (yet)
The goal at this stage is confidence, not scale.
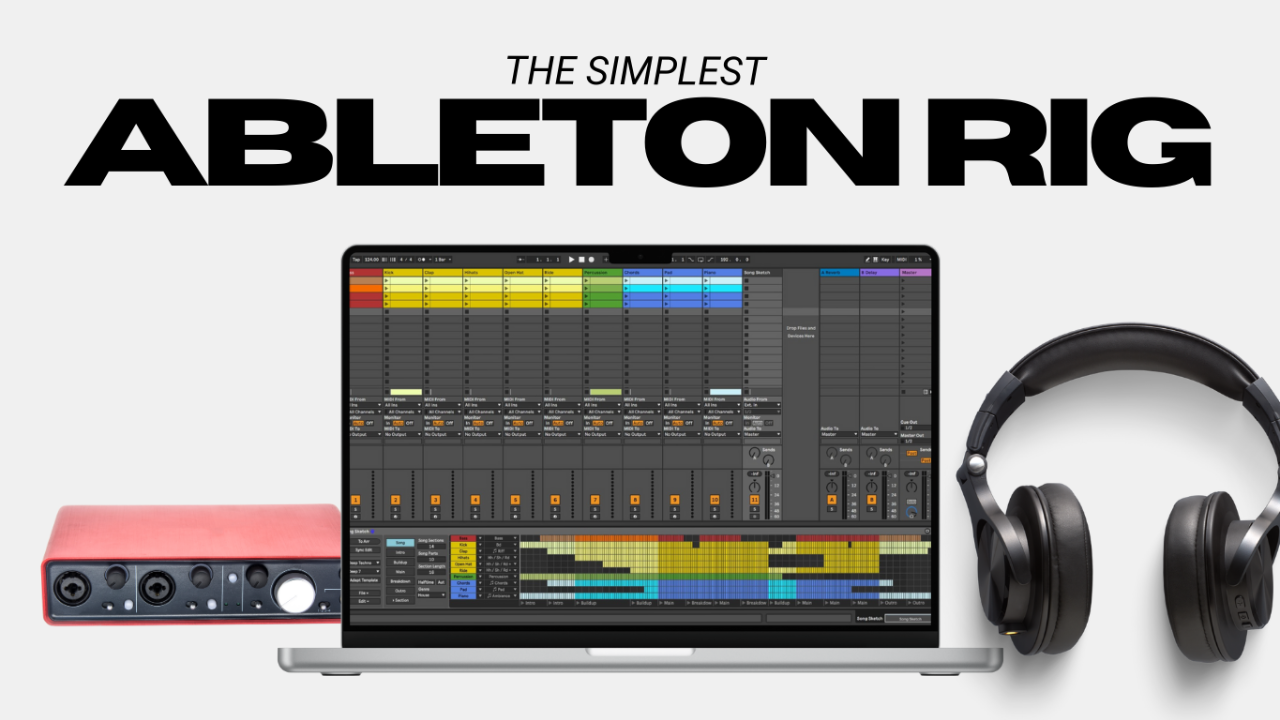
The Core Gear You Need for an Ableton Backing Track Rig
This is where most musicians overthink things. You don’t need much to get started.
A Reliable Laptop for Live Performance
Mac or Windows both work for running backing tracks live. Stability matters more than specs, so I do tend to recommend Mac over Windows, but the nice thing is Ableton works on both operating systems, so if you start on one and upgrade to a different system later, you can still utilize the same Ableton projects.
A slightly older laptop that only runs music software is often more reliable than a brand-new computer filled with background apps, cloud syncing, and notifications.
Treat your laptop like an instrument, not a general-purpose device.
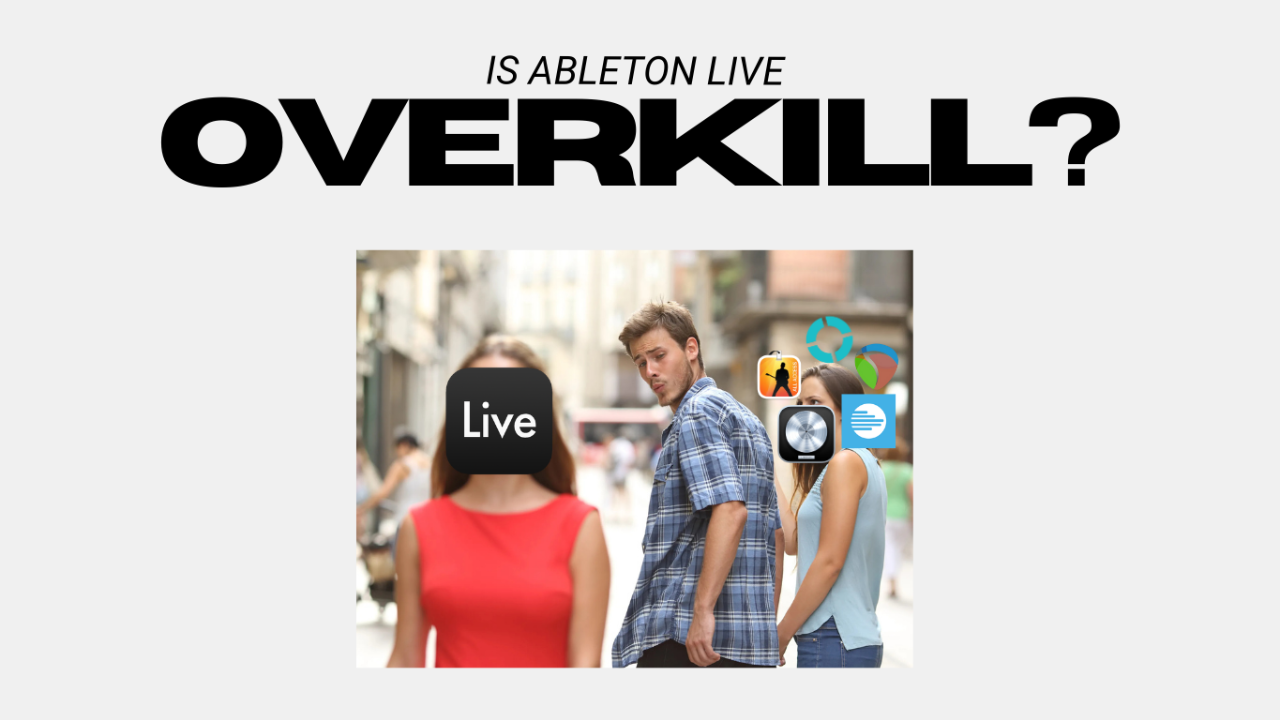
Ableton Live (Intro or Standard Is Enough)
Ableton Live is widely used for backing tracks because it’s designed for live performance.
For most musicians:
- Ableton Live Intro is enough for simple backing tracks
- Ableton Live Standard makes sense if you need more routing, more tracks
- Ableton Live Suite is rarely necessary for playback rigs, it’s mostly more virtual instruments included, not more usability features.
If you’re just running backing tracks and a click, you don’t need every feature.
An Audio Interface With at Least 4 Outputs
This is one of the most important parts of any live backing track rig.
You need:
- Outputs 1–2: backing tracks to front of house
- Outputs 3–4: click track (and cues) to the band
Two-output interfaces work until the moment you need separation between click and music. That moment comes fast.
If your interface only has two outputs, plan on upgrading soon.
Monitoring for Click Tracks (IEMs or Headphones)
The click track should never go to the audience.
Whether you’re using in-ear monitors or basic headphones, the band needs a private feed for click and cues. Even a simple monitoring setup is better than trying to share the click through wedges. Most modern Front of House mixers have monitor control built in, utilize this. Invest in small personal headphone amps that clip to your belt that you can bring to each gig for each band member. (I like the one at this affiliate link.)
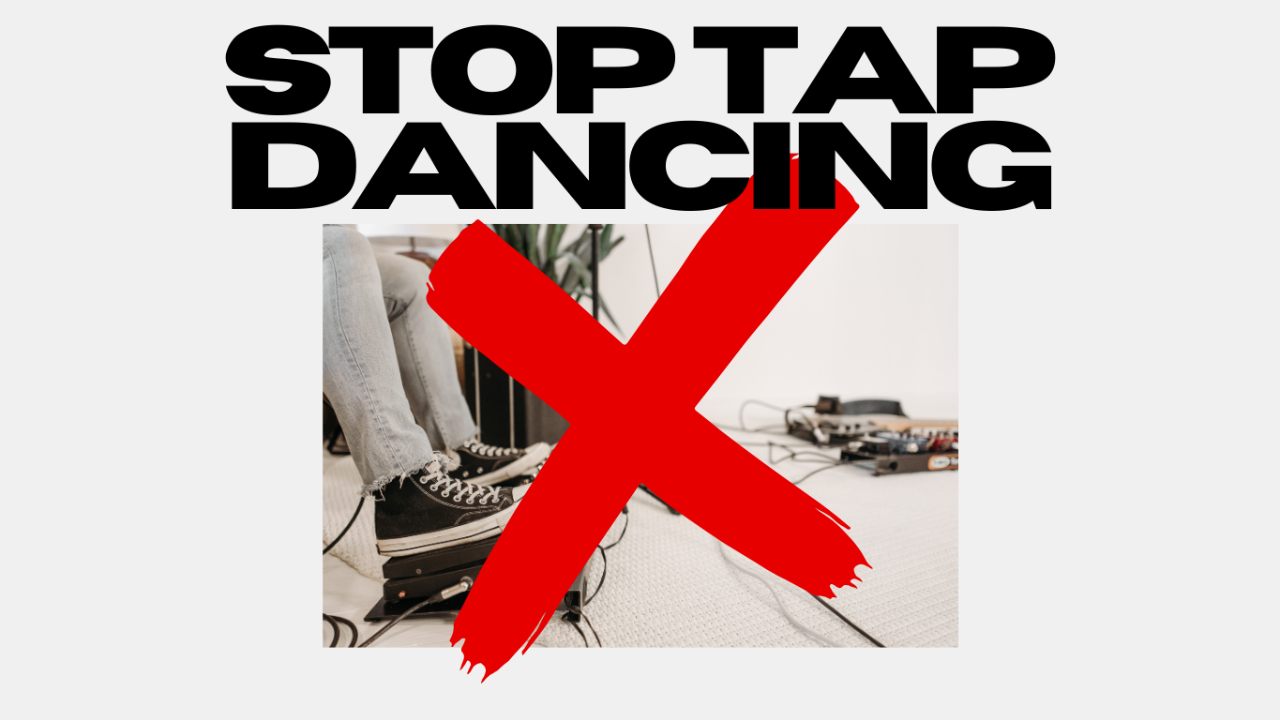
A MIDI Controller (Optional… technically.)
You don’t need a MIDI controller to run backing tracks live… unless you want to look like you’re checking your email between every song. It’s not technically required in order to run tracks. And this is where I kind of contradict myself in this post.
A keyboard and mouse are perfectly fine while you’re learning. Once the rig is stable, foot controllers and MIDI triggers are a logical next step, but adding them too early often creates more problems than solutions.
So here’s my recommendation: Go without when you’re learning the software and creating your rig. Only add it in when you’re ready to take the rig to a live gig. MIDI controllers, whether a footswitch or a button pad, are very easy to integrate after the system is running perfectly already.
If you know me you know I care a lot about your audience’s experience, and there’s just something about staring at your computer and using a keyboard and mouse that just tends to break the flow of a live music experience. So for that fact I do think having a way to trigger the start of your set, or each song, externally from the computer is necessary. But don’t add it in before you need to.
How to Set Up Ableton Live for Backing Tracks (Conceptual Overview)
This isn’t a step-by-step tutorial. It’s about understanding the structure.
Session View vs Arrangement View for Live Backing Tracks
Most Ableton backing track rigs use Session View:
- Each song lives in its own scene
- Songs can be triggered manually
- You’re not locked into a fixed timeline
Arrangement View works better down the road for some people when doing complex routing and triggering, but Session View is what has made Ableton the go-to for live performance for decades, it’s a very streamlined and user-friendly interface.
A Simple Track Layout That Works Live
A clean layout might look like this:
- Track 1–2: backing tracks (stereo)
- Track 3: click track
- Track 4: cues (optional)
Color-code tracks. Name everything clearly. When something goes wrong on stage, visual clarity matters more than clever routing.
Ableton Output Routing Explained Simply
Routing is where most confusion happens in a live playback rig.
Ableton sends audio to your audio interface, not directly to speakers.
Your interface then sends that audio to Front Of House and your monitors.
A simple Ableton routing setup looks like this:
- Backing tracks → Interface outputs 1–2 → FOH
- Click and cues → Interface outputs 3–4 → Band only, or also to FOH then sent to your monitors, but muted for the audience.
If you understand this signal flow, running backing tracks live becomes far less stressful.
Gain Staging for Backing Tracks in Live Performance
Backing tracks don’t need to sound impressive when soloed.
But they should sound controlled, balanced, and predictable.
A few guidelines:
- Leave headroom (meaning: Leave yourself room to increase the volume output to FOH)
- Don’t chase loudness
- Set levels once and keep them consistent, per song. Aim to keep the tracks at the same general volume for each song’s tracks.
If you’re constantly adjusting volume at rehearsal, the system isn’t settled yet.
Your First Rehearsal With Backing Tracks: What to Practice
This is where trust in the rig is built.
Before your first full run-through:
- Start and stop every song
- Practice count-ins
- Stop a song on purpose
- Recover and restart cleanly
Rehearsal isn’t about perfection. It’s about learning how your backing track rig behaves under pressure.
Common Mistakes When Running Backing Tracks Live
A few issues show up repeatedly:
- Using a two-output interface
- Running backing tracks too loud
- Adding MIDI and automation too early
- Ignoring transitions between songs
- Letting only one person understand the system
A rig that only works when one person is present doesn’t meet the reliability requirement, since it’s dependent on one person. Get at least one other person in your band to understand the rig as a backup.
When Your Ableton Backing Track Rig Needs to Grow
You’ll know it’s time to expand when:
- You need stems instead of stereo tracks
- You want song-to-song automation (think, custom guitar patch changes)
- Reliability becomes mission-critical
- Redundancy is required
That’s not failure, it’s growth.
The goal isn’t to stay simple forever. It’s to earn complexity.
Final Thoughts on Running Backing Tracks Live
A simple Ableton Live backing track rig that you understand will always outperform a complex system you don’t trust.
If you’re just getting started, this setup is more than enough to play confidently and consistently.
From here, you can explore software comparisons, reliability strategies, and more advanced playback workflows, without rushing past the fundamentals.
If you still feel like you need a little more help assembling your rig, or want some more gear-specific suggestions, download my free Pro-Level Playback Rig Roadmap right here!
Author