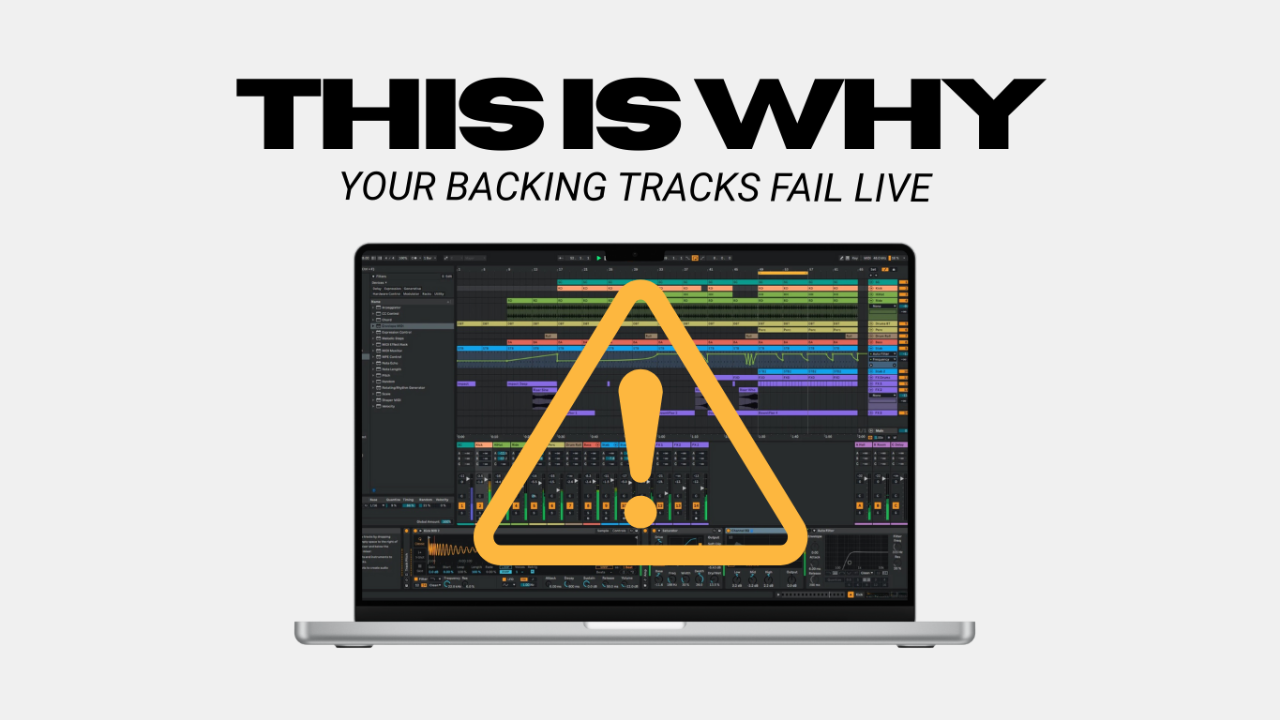
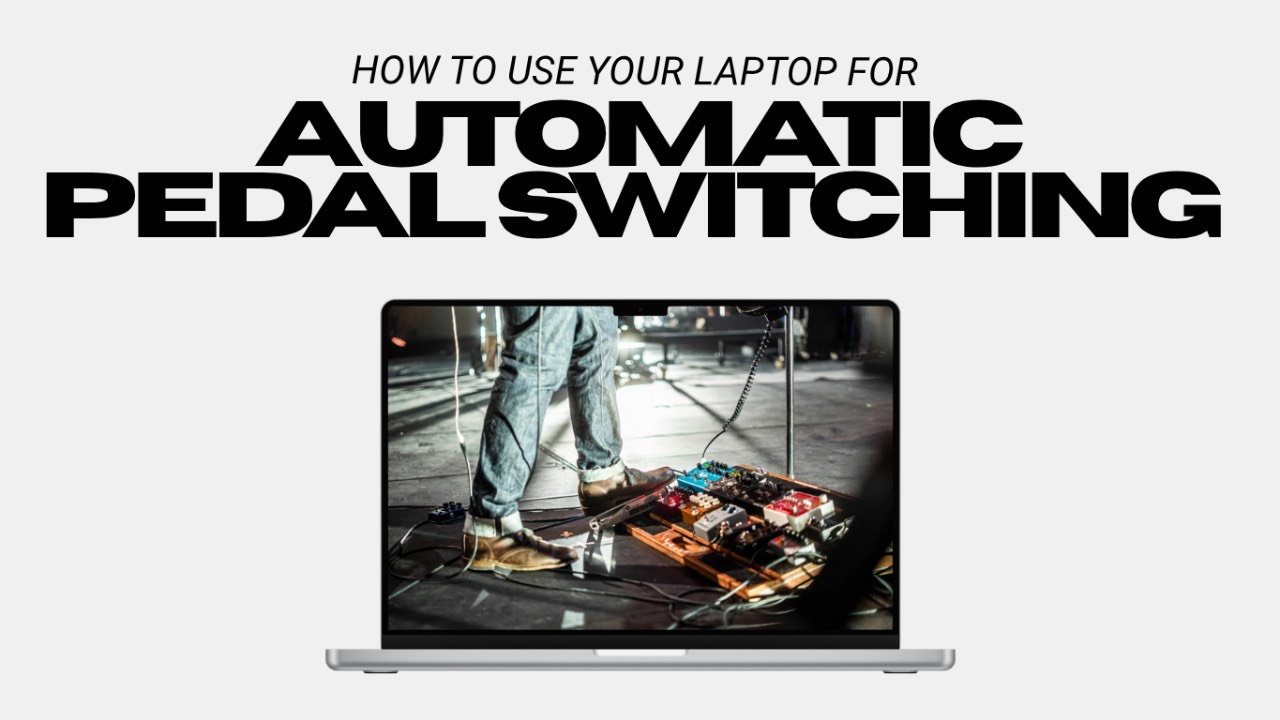
I know you’ve seen the rig rundowns on YouTube. The guitarist has a massive gear rack, a digital modeler (or three), and a MIDI controller that automates everything. Then they casually drop, 'Oh, and the best part is my backing tracks automate all my pedal and amp changes for me.' Excuse me?… the what does WHAT?
It’s some serious next-level production. You think, 'That’s only for the pros with massive budgets. I’ll never afford a rig like that.'
Wrong. Dead wrong.
The truth is this; it’s way more simple than you think. Once you know the steps, you can program it once and forget it, forever. Whether you’re a bar band guitarist, a lead singer juggling pedals, or a worship leader trying to connect with your church without staring at your spaceship pedalboard, this is 100% doable. By the end of this post, you’ll feel confident enough to keep up with the big boys at the arena downtown (if they’d ever just call you to fill in). Alright, let’s do this.
Understanding MIDI Program Change Messages
The first thing you need to know is MIDI Program Change messages (or PC for short). These are specific MIDI commands that tell your pedals to switch to a specific preset.
Here’s how it works:
- PCs run on a scale of 0-127, with each number corresponding to a preset on your device.
- Some devices use a 1-128 scale instead, which can cause confusion. For example:
PC #0 = Program 1 (or “preset” 1), the first program or preset
PC #1 = Program 2…
…
PC #127 = Program 126
PC #128 = Program 127, the last available program or preset.
Pro Tip: Check your pedal’s user manual to see which scale it uses. Most devices use the 1-128 scale, so keep that in mind when programming your playback software.
Relevant note but a deeper topic for another time: You might be thinking to yourself “Hey, how come some devices (like the big box Strymon pedals) say they have more than 128 presets if the protocol only goes up to 128?” And that’s a fair question, the basic answer is what’s called MIDI Banks. I’ll go into this topic a little deeper in the future if that’s something you want to learn more about. Leave me a comment at the bottom of this post if you want me to go into that in a future post.
Software, meet Pedal
We need to do 3 things to get everything talking to each other nicely:
- Assign MIDI Channels to your pedal(s)
- Connect it all together (somehow)
- Tell your playback software to send MIDI to your pedal(s)
Step 1: Assign MIDI Channels
The next step in getting your software talking to your pedal or pedals. If you’re only doing this for one pedal, just do the following once. If connecting multiple pedals, each pedal will need to be assigned its own MIDI channel, you’ll decide this on your own, but let’s use an example like this for sake of ease:
Strymon Mobius: Channel 1
Strymon Timeline: Channel 2
Strymon BigSky: Channel 3
Address the user manual to assign each pedal their own MIDI Channel within the pedals’ settings.
Now when you head to your software, any MIDI message sent on channel 1 will go to the Mobius, and skip sending it to any other channels.
Step 2: Connect it All Together
How you connect your computer to your pedals depends on your gear. Here are the most common setups:
Single Pedal with USB: Use a USB cable to connect directly to your computer.
Multiple Pedals with 5-Pin MIDI: Use a MIDI interface or daisy chain the pedals like this:
MIDI Out (interface) → MIDI In (Pedal 1)
MIDI Out (Pedal 1) → MIDI In (Pedal 2)
Repeat for additional pedals.
Pro Tip: Always connect MIDI Out to MIDI In—it’s a one-way street. If you’re unsure about your setup, check your pedal’s manual or leave me a comment below."
Step 3: Tell your Playback Software your device or interface is connected
Finally, you’re ready to tell your software what to talk to. Just like you probably told it what audio interface you’re using to send audio out of the laptop, you also need to tell it what device MIDI needs to go down. And just like your audio, you’ll have settings for input and output here as well, we’re focused on the output for this tutorial.
If your pedal(s) are connected to a MIDI interface, this is the device you need to select in the software MIDI settings, not the pedals themselves. If you have multiple pedals connected, don’t worry about selecting the different pedals quite yet. Just select the device that is pushing MIDI out to the pedals.
Programming Your Changes into Your Setlist
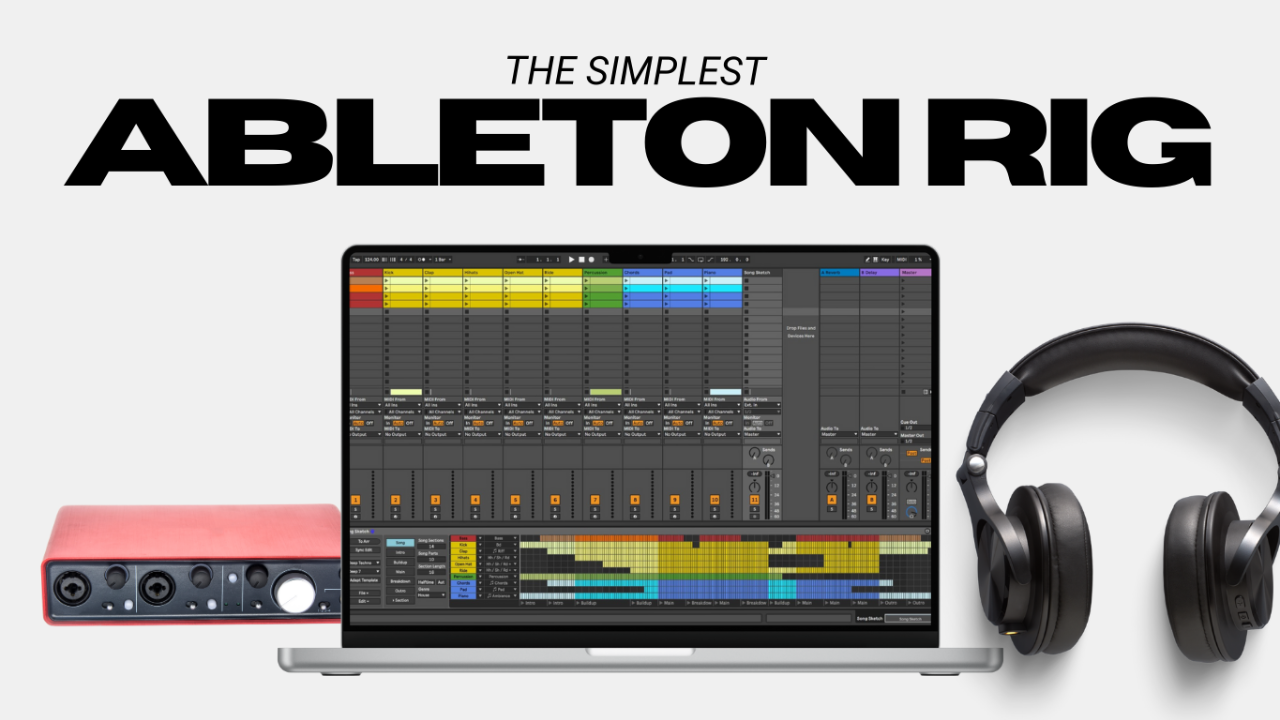
Now for the fun part: programming your playback software to automate your presets. I use Ableton Live, so that’s the lens I’m going to look through here.
Creating MIDI Tracks
For each device or pedal, create a separate MIDI track in Ableton Live. In the track’s routing section, select your MIDI device from the Output dropdown and assign the appropriate MIDI Channel.
Assigning Presets
Create a blank MIDI clip at the measure where you want the preset to change. In the Clip Tab, set the Pgm (Program) number to match your preset. Remember the 0-127 vs. 1-128 scale!
Programming Changes
Add new MIDI clips wherever you want to change presets in your song. For example:
Intro (Measure 1): Mobius = Pgm 3, Timeline = Pgm 0, BigSky = Pgm 11
Verse (Measure 8): Mobius = Pgm 5, Timeline = Pgm 2, BigSky = Pgm 14
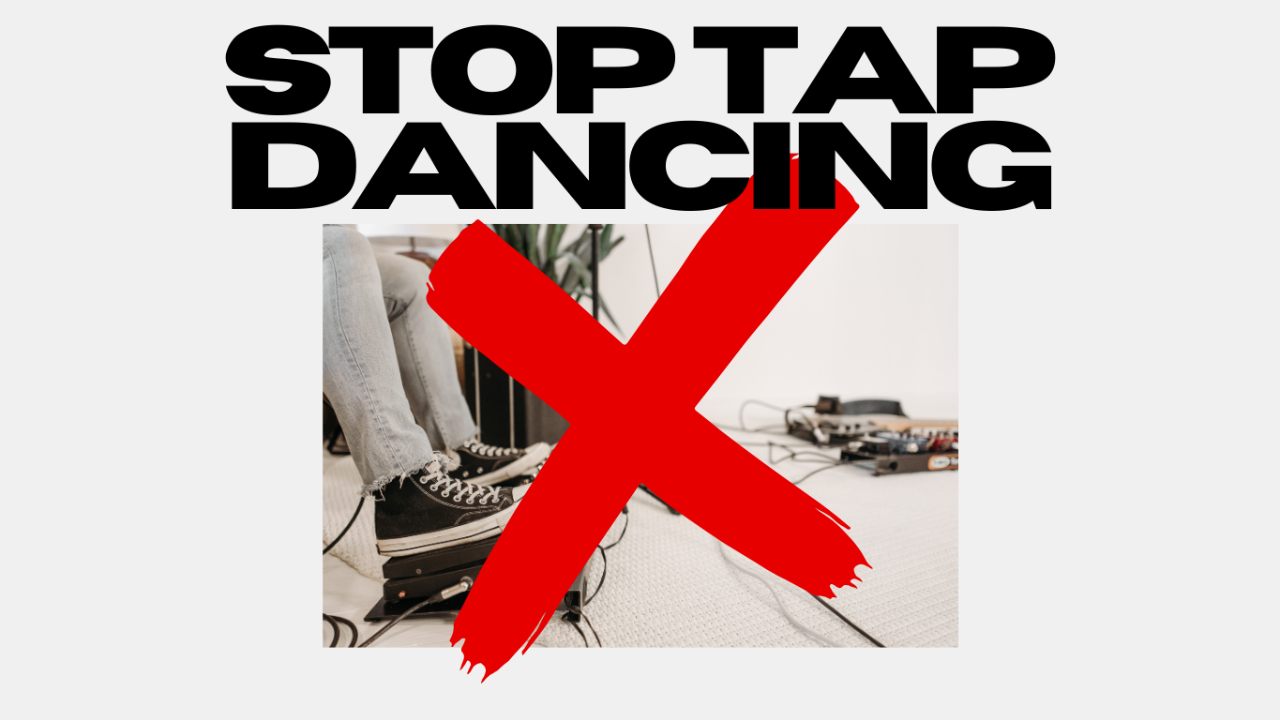
When you hit play, Ableton will automatically send the correct Program Change messages to your pedals. No more tap dancing!
That’s it!
How freakin’ sick is that? Now you don’t have to tap dance all set long or stress about hitting the right pedals. Ableton Live is doing the heavy lifting for you, so you can focus on playing your best.
If you're ready to take the first steps towards utilizing backing tracks or automation live, you'll want to download my guide here I created specifically for you to get started with a playback system that you can build and trust.
Author