Backing tracks have become a staple in modern live performances, whether you’re a solo artist looking to fill out your sound or a band wanting to incorporate layers and effects that would otherwise be impossible to recreate live. But to be honest, running backing tracks can feel a little daunting. What software should you use? How do you keep everything in sync with the band? And, most importantly, how do you avoid a technical meltdown mid-show?
In this post, I’ll walk you through the best software for running tracks, how to sync them with click tracks for your band, and tips to ensure your performance goes off without a hitch.
The Best Software for Running Backing Tracks
When it comes to running backing tracks, you want software that’s reliable, easy to use, and flexible enough to handle your needs. Here are some of the top options:
1. Ableton Live
Why It’s Great: This is the one. If you’re serious about backing tracks, this is what you should be using. Ableton is the gold standard for live performance. Its Session View makes it easy to trigger tracks, loops, and effects in real time.
Pro Tip: Use the built in metronome that can be routed separately from everything else.
2. MainStage
Why It’s Great: If you’re in the Apple ecosystem, MainStage is a budget-friendly option ($29.99) that integrates seamlessly with Logic Pro. It’s pretty basic as far as running backing tracks, but sometimes that’s all you need.
Pro Tip: Set up patches for each song to keep your workflow organized.
3. Playback by Multitracks.com
Why It’s Great: Designed specifically for running backing tracks, Playback is user-friendly and comes with features like auto-fade and click/cue integration. This software was designed with worship teams in mind.
Pro Tip: Use the free version to get started, then upgrade as your needs grow.
4. Prime by Loop Community
Why It’s Great: Another great option for beginners, Prime is free and allows you to import your own tracks or purchase multitracks directly from their library. Like Playback above, this software was designed with worship teams in mind.
Pro Tip: Use the built-in click and cues to keep your band locked in.
Use a MIDI Controller
Since you don’t want to look like you’re checking your email during a live set, you should find a way to control your laptop and software without physically touching your computer. This is where MIDI controllers come in. Here are my suggestions for good solid controllers depending on what instrument you’re playing:
- Drummer: ddrum NIO Percussion Pad
- Keys/Piano: Akai MPD218
- Guitarist/Bassist: Morningstar Engineering MC6 or MC8
How to Sync Tracks with Click Tracks for the Band
One of the biggest challenges with backing tracks is keeping everyone in sync. Here’s how to do it:
1. Use a Setlist Approach:
When using tracks for the first time, your setup approach will determine a lot down the line. You don’t want to have each song saved as separate files that you have to open and close throughout the set, you want every track for every song in the same session to navigate through automatically - without needing to quit and open the next song.
2. Set Up a Click Track:
Most backing track software allows you to route a click track to a separate output, either use the built in click from the software itself, or when creating your tracks include the creation of a “click track” and export it as it’s own track or stem. Send this to your band’s in-ear monitors.
Pro Tip: Always record your tracks/stems to a click track and note the tempo or bpm per song. This will ensure everything stays in time when you’re playing the tracks back within your software.
3. Use a Stereo or Multi-Output Interface:
Invest in an audio interface with at least two outputs. Route the backing tracks to the main PA and the click track to your band’s monitors. If you get more than 2 outputs you can submix your tracks for better control by the audio engineer in the venue, I like to submix my tracks as follows:
Channel 1: Click Track
Channel 2: Sub Bass
Channels 3-4: Stereo Keys and/or Guitars
Channels 5-6: Misc (things like ear candy or less common elements such as synths)
Channels 7-8: Percussion
Recommended Gear: Behringer UMC204HD or Audient iD48
4. Rehearse with the Click:
Make sure your band practices with the click track before the show. This helps everyone get comfortable and tightens up your performance.
5. Program Cues:
Add vocal or instrumental cues to your tracks to guide the band through transitions. For example, “Chorus in 3, 2, 1...” Sometimes you just need the intro, other times it’s nice for the entire song. Do what’s right for your specific band.
Tips for Avoiding Technical Issues During a Performance
Nothing kills the vibe faster than a technical glitch. Here’s how to keep your setup rock-solid:
1. Test Your Setup Before the Show:
Run through your entire setlist with your laptop, interface, and MIDI controller to catch any issues early.
2. Use a Dedicated Laptop:
Avoid using your everyday laptop for live shows. A dedicated machine reduces the risk of background processes or updates interfering with your performance.
3. Have a Backup Plan:
Bring a secondary device (like a tablet or phone) loaded with your tracks as a backup.
Use a simple app like Go Button or even a playlist on your phone as an emergency fallback.
Or, when all else fails… play the set without, or acoustically/unplugged style. Run a click track only from an app like Tempo to your bands in-ears, and don’t fret about the tracks for one set.
4. Secure Your Connections:
Use gaffer tape to secure cables and prevent accidental disconnections.
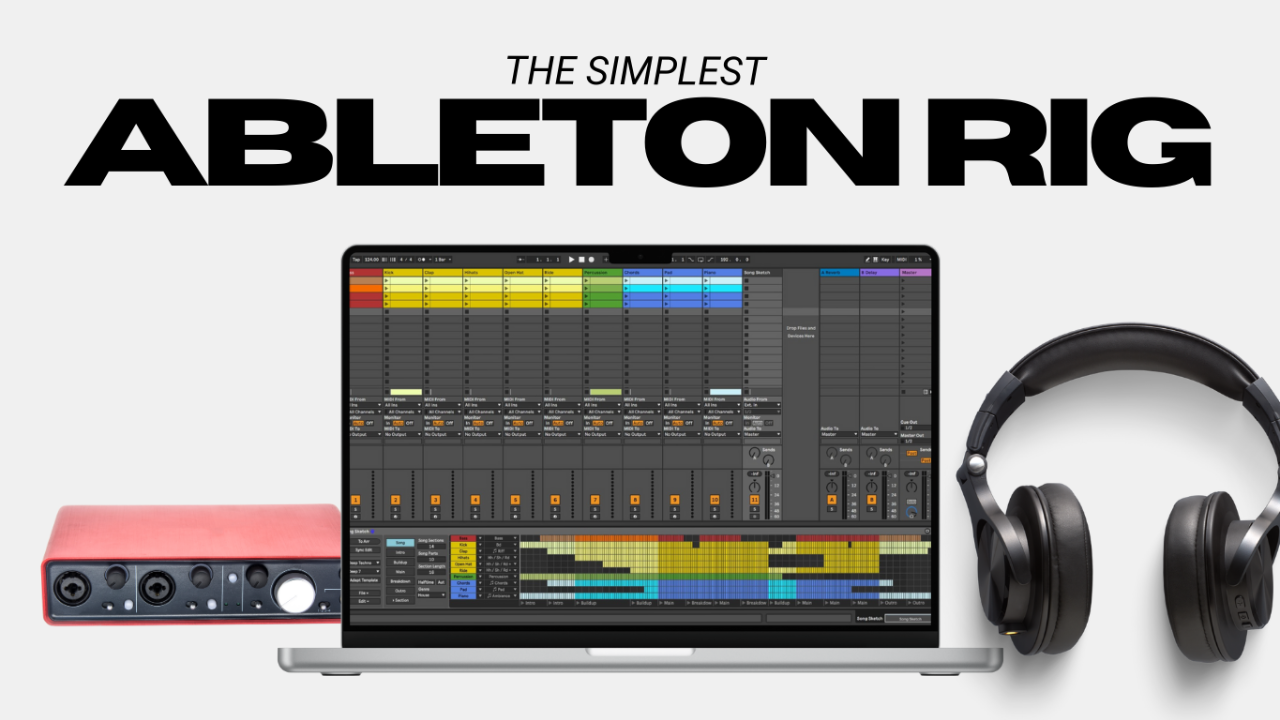
5. Keep It Simple:
The more complex your setup, the more likely something will go wrong. Stick to the essentials and avoid overloading your system with unnecessary plugins or tasks.
Take Your Live Show to the Next Level
With the right software, a solid sync strategy, and a few precautions, you can confidently run backing tracks in your live performances. Whether you’re a solo artist or part of a full band, this setup will give you the flexibility and polish to take your show to the next level.
If you're ready to take the first steps towards utilizing backing tracks or automation live, you'll want to download my guide here I created specifically for you to get started with a playback system that you can build and trust.
Author