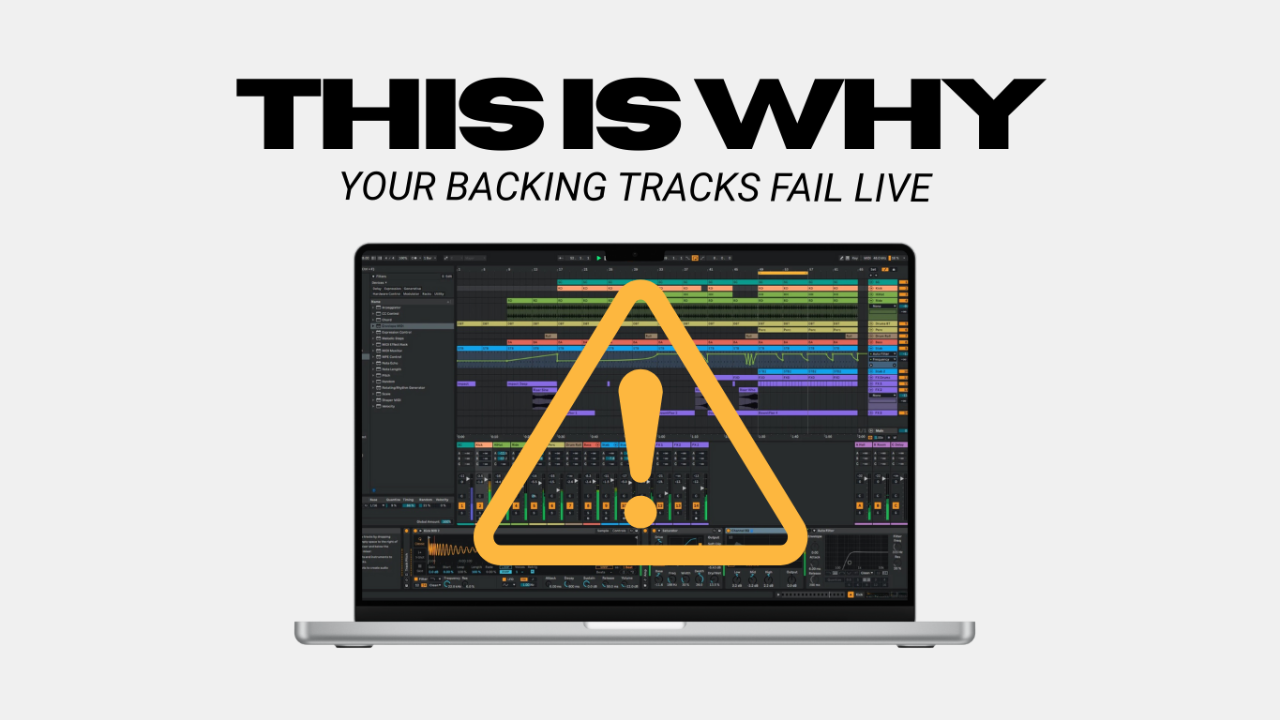

Can I tell you about my absolute favorite trick with a playback rig that almost no one talks about?
Output Buses.
Yup… not quite the sexy payoff you were hoping for? Hear me out though.
No fancy plugins, no expensive gear, just a simple concept that can completely change the way you manage your sessions.
Output buses are one of the most powerful and time-saving tools you can use when building your live playback rig. They bring structure, clarity, and flexibility to your setup, especially when you’re dealing with multiple stems and backing tracks on stage.
Let’s break it all down.
What Output Buses Are (and Why They Matter in a Playback Rig)
Before we get into setup, let’s define what we’re talking about.
An Output Bus is basically a routing track that sits between your audio tracks and your physical outputs. Instead of sending every track directly to your interface, you send them to buses first, which then feed into your actual outputs.
Think of buses as your traffic controllers. They decide which tracks go where and give you a single place to manage and reroute things quickly.
Why this matters:
- You stay organized.
- You can adjust or reassign outputs in seconds.
- You dramatically reduce the chaos when someone (like your FOH engineer) changes routing requirements at the last minute.
When you’ve got multiple stems; drums, bass, synths, guitars, clicks, cues, that kind of control isn’t just nice, it’s an actual lifesaver.
How to Set Up Output Buses the Right Way
Here’s the exact setup I use in every playback project:
- Create one audio track (bus) per physical output on your interface.
- If you have eight outputs, create eight tracks
- Assign each bus track’s output to its corresponding physical output number.
- Label them like this: “OUT 1” goes to physical Output 1, “OUT 2” to Output 2, etc.
- Delete the input assignments on those bus tracks.
- This prevents accidental feedback or unexpected audio from creeping in.
- Add what audio is on each track to the channel names.
- Example: OUT 1 – Click & Cues, OUT 2 – Percussion, etc.
- Route all your actual stem tracks to these buses instead of directly to a physical output.
- Your stems feed into the buses, and the buses feed into your interface.
Once that’s done, you’ve created a clean, flexible routing system that can handle just about any situation.
Why It Makes Your Life Easier (Especially On Stage)
Here’s where it gets good.
Let’s say you’re playing a show and your front-of-house engineer wants two outputs:
- OUT 1: Click & Cues
- OUT 2: All Backing Tracks
You’ve already got it covered. You just assign your click and cue stems to “OUT 1” and everything else to “OUT 2.”
Now imagine the next show’s engineer wants something totally different:
- OUT 1: Click & Cues
- OUT 2: Percussion
- OUT 3: Sub Bass
- OUT 4: Strings
Still easy. You don’t have to rewire your entire session. You just reassign a few bus outputs.
That flexibility is massive, especially if you’re running tracks for different artists, venues, or configurations.
Beyond routing, this system makes rehearsing and troubleshooting much smoother. Need to solo just the percussion or mute a group of instruments? Done. Want to tweak levels on the fly without hunting through twenty tracks? Easy.
This routing method is simple but powerful, and it works in almost any DAW, whether you’re building a playback rig for live shows or organizing your studio backing track setup.
Conclusion: Why Output Buses Belong in Every Playback Rig Setup
Output buses might not sound exciting, but they can completely transform the way you build and manage your playback rig.
They give you:
- A cleaner, more organized session
- Faster setup and troubleshooting
- Easier flexibility when your routing needs change
The best part? You can implement this today in your setup without spending a dime.
Next time you’re working on your rig, try setting up output buses and see how much easier your workflow becomes.
If you're ready to take the first steps towards utilizing backing tracks or automation live, you'll want to download my guide here I created specifically for you to get started with a playback system that you can build and trust, exactly like the pro's use.
And if you’ve got your own tricks for staying organized or streamlining your live sessions, drop a comment or shoot me a message. I’d love to hear what’s working for you.
Author